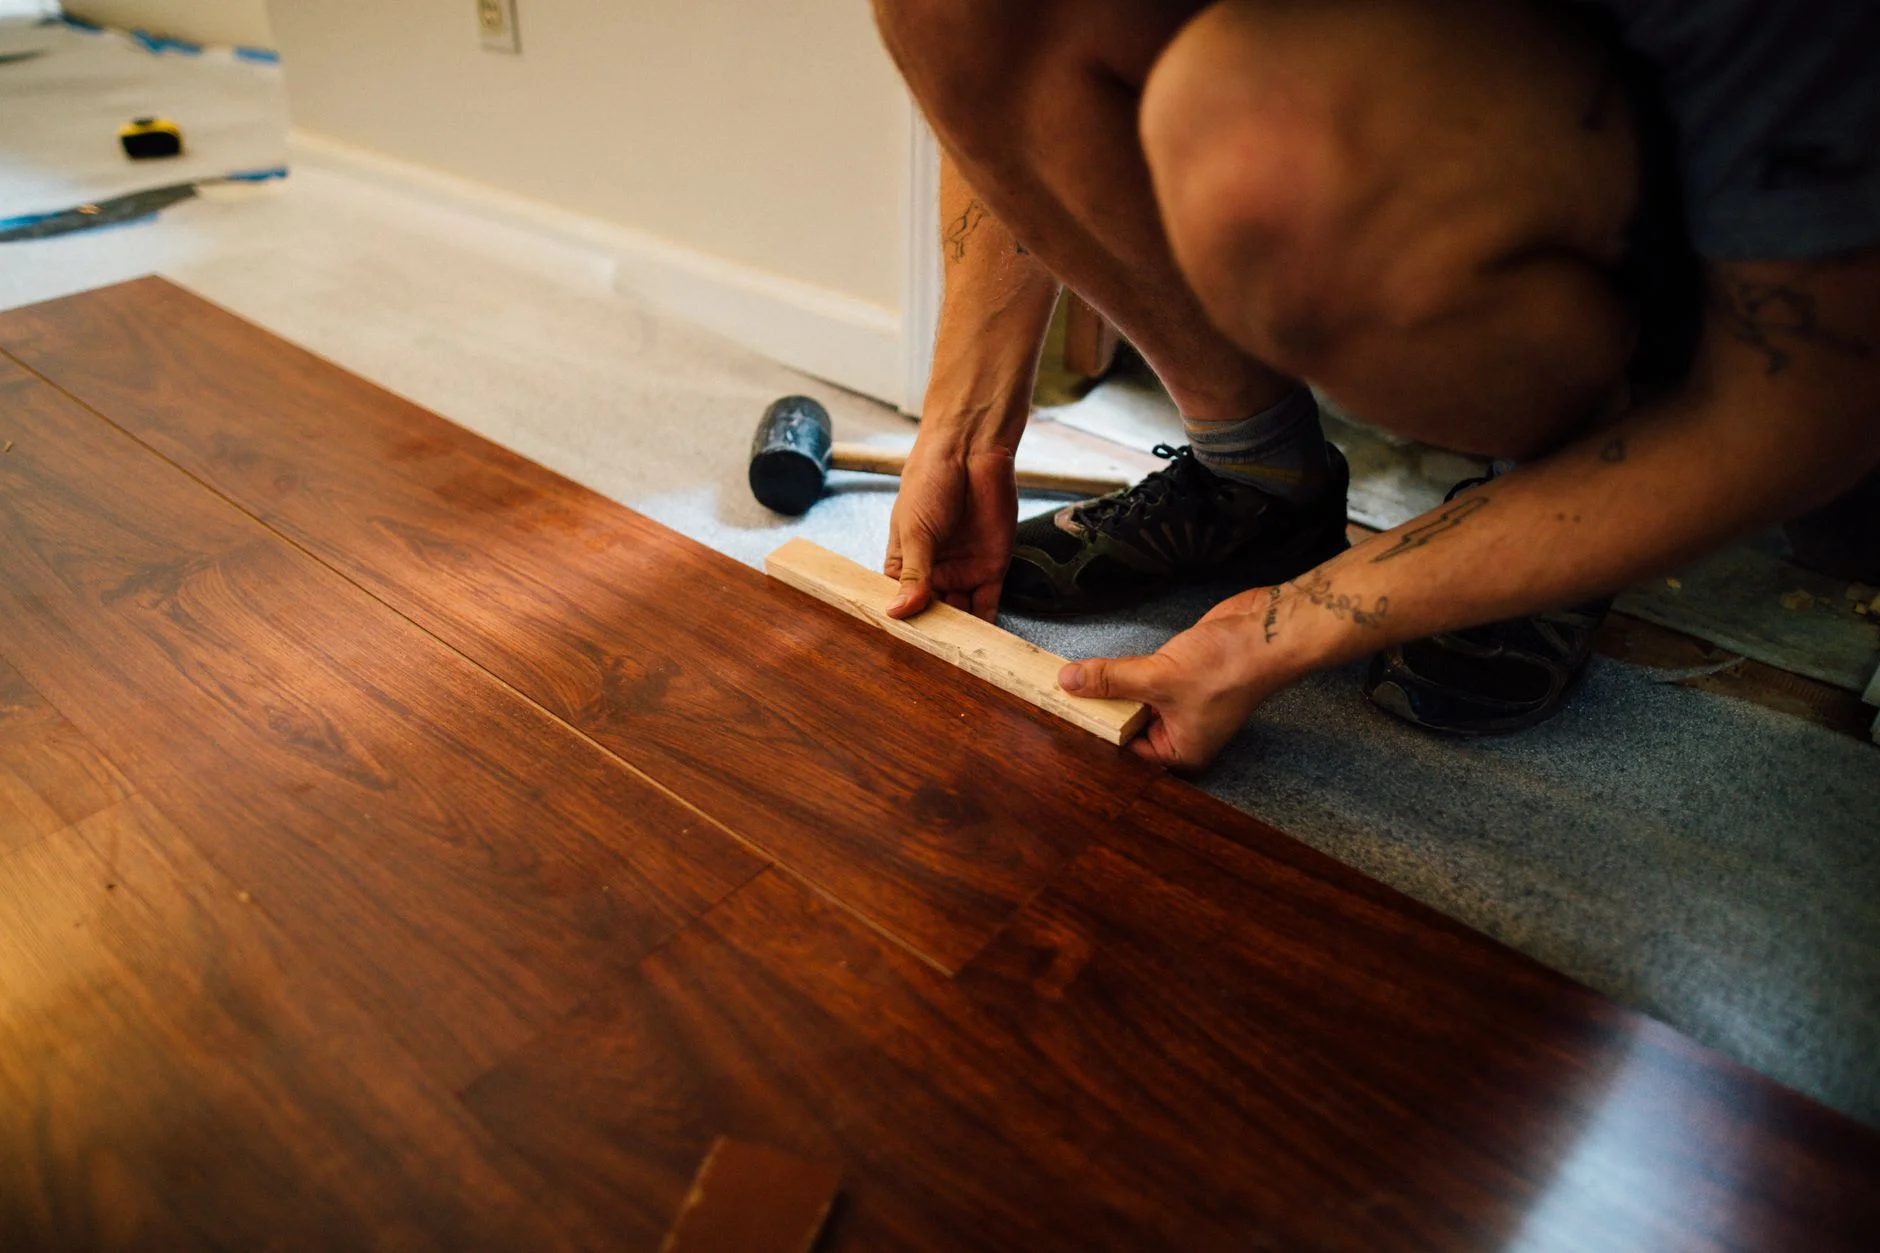
How to Lay Laminate Flooring – Step-by-Step Guide for UK Homes
Learning how to lay laminate flooring is one of the best value DIY skills a UK homeowner can acquire. A professional fitter charges £8–£15/m² in labour — on a 20 m² room, that is £160–£300 you can save by doing it yourself over a weekend. Laminate clicks together without adhesive, requires only basic tools, and the floating installation method means you can remove and refit boards if something goes wrong. This guide covers everything from subfloor preparation to fitting the final row.
Tools and Materials You Will Need
- Laminate flooring boards (measure room area, add 10% for wastage)
- Underlay suitable for the subfloor type (foam, acoustic, or UFH-rated)
- Vapour barrier if fitting over concrete
- Tape measure and pencil
- Jigsaw or mitre saw (for cutting boards)
- Pull bar and tapping block (for closing joints)
- Spacers for expansion gaps (8–10 mm)
- Spirit level or long straight edge
- Knee pads
- Finishing beading or skirting board to cover expansion gaps
Step 1 – Prepare the Subfloor
A flat, dry, and solid subfloor is the most important factor in a successful laminate installation. Most failed DIY laminate jobs come back to subfloor problems, not fitting errors.
Flatness
Laminate tolerates a maximum of 3 mm deviation over any 2-metre span. Use a long straight edge or spirit level to check for high spots and dips. Fill dips with self-levelling compound. Grind down high spots on concrete with an angle grinder. On wooden subfloors, screw down any squeaky boards and sand down any ridges at board joints.
Moisture
On concrete subfloors, always lay a polythene vapour barrier (0.2 mm minimum thickness) before the underlay. This is essential even if the concrete feels dry — concrete subfloors emit moisture vapour that will swell laminate boards over time. On suspended timber upper floors, the vapour barrier can usually be omitted, but check if there are signs of damp.
Remove Old Flooring
Always remove old carpet and underlay — you cannot float laminate over soft carpet. Old vinyl tiles or sheet vinyl can sometimes be left in place if they are fully adhered and flat, but any loose areas must be secured or removed. Old laminate or engineered wood must generally be removed as well unless the manufacturer specifically allows fitting over an existing floating floor.
Step 2 – Acclimatise the Boards
Leave the unopened boxes of laminate in the room for at least 48 hours before fitting. This allows the boards to adjust to the room’s temperature and humidity. In centrally heated UK homes, this step genuinely matters — skipping it can lead to gaps opening between boards as the laminate acclimatises after fitting. Stack the boxes flat, not on end.
Step 3 – Lay the Underlay
Roll out the underlay perpendicular to the direction you plan to lay the boards. Butt the edges together (do not overlap) and tape the joints with underlay tape. If you are laying a separate vapour barrier, tape that first, overlapping the edges by 200 mm, then lay the underlay on top. Leave the underlay loose — do not staple or glue it down. It needs to be free to allow the floating floor to expand.
Step 4 – Plan Your Layout
Before fitting the first board, do a dry run across the width of the room. You want the cut boards at each end of the room to be roughly the same width, and ideally more than half a board wide. If they would be less than half a board, adjust your starting position by moving half a board width.
Generally, lay boards parallel to the longest wall or the main light source from the window. Boards laid towards the light source look better because the shadow from the joints is less visible.
Step 5 – Fit the First Row
Place spacers against the starting wall — 8 mm for most rooms, 12 mm for rooms over 8 metres wide. These maintain the expansion gap that allows the entire floor to expand as a unit with temperature and humidity changes. Do not skip this step — a floor laid without expansion gaps will buckle in warm weather.